
Darkroom Print Guide
Darkroom Print Guide
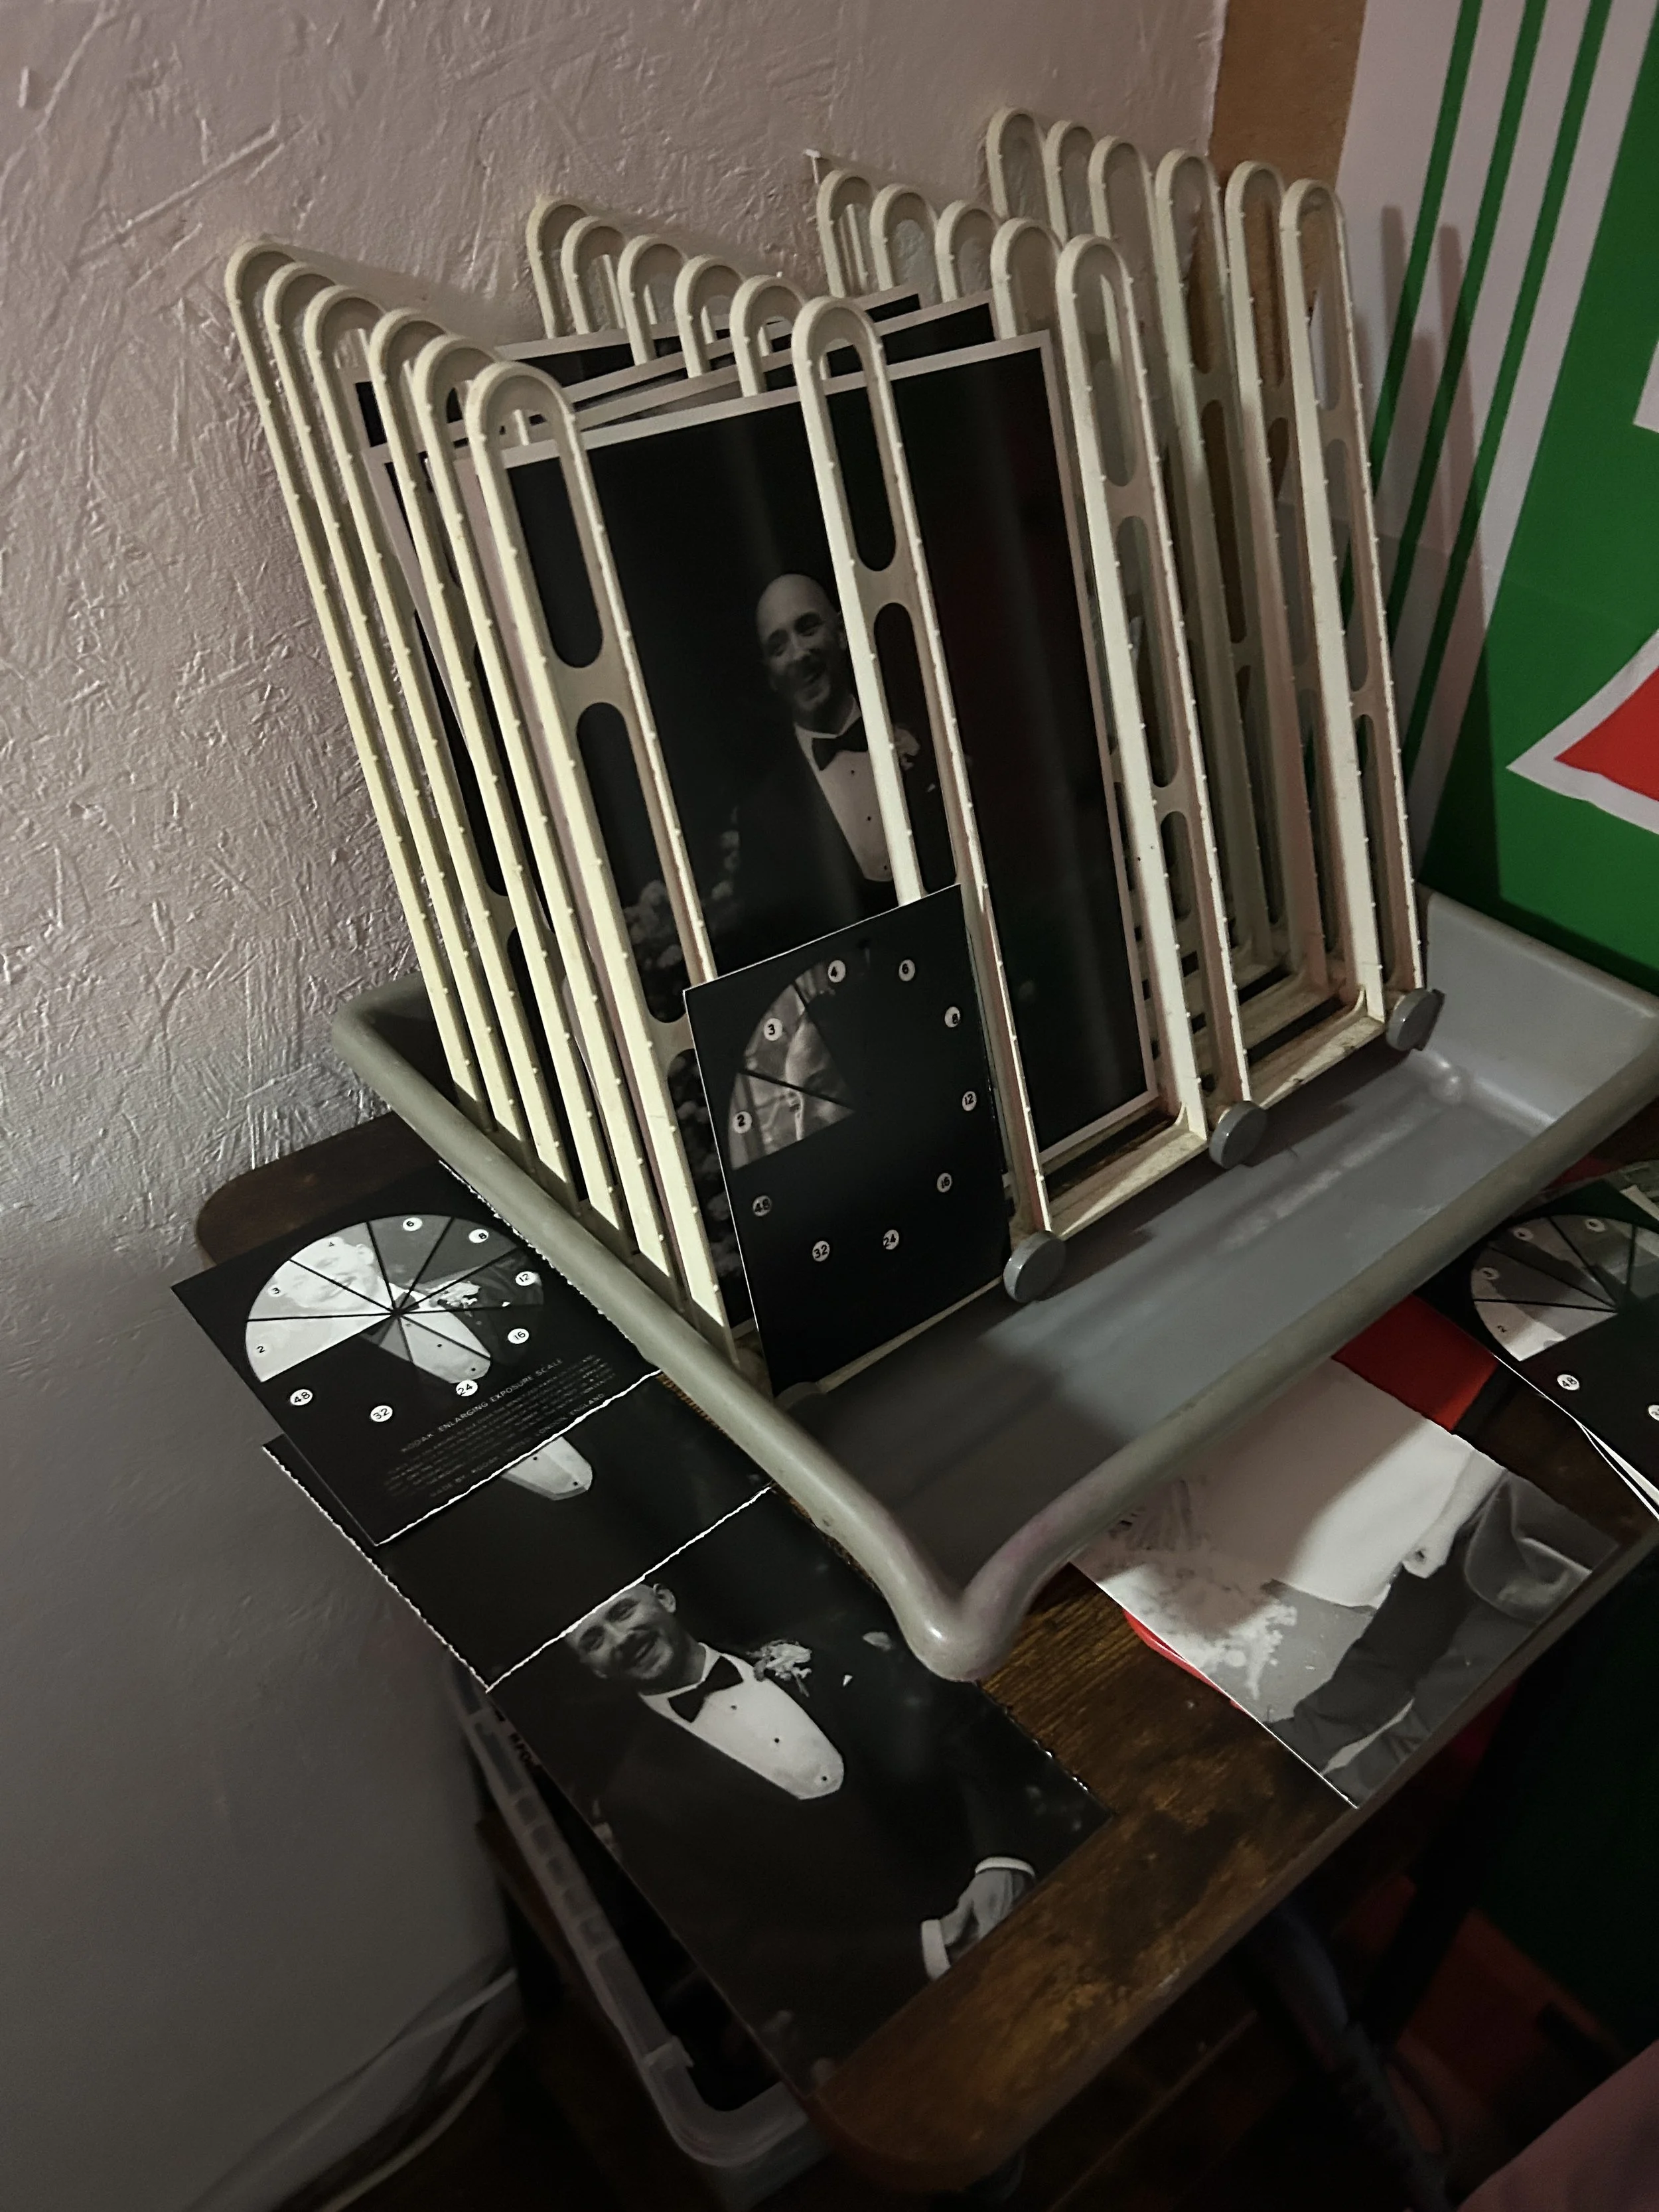
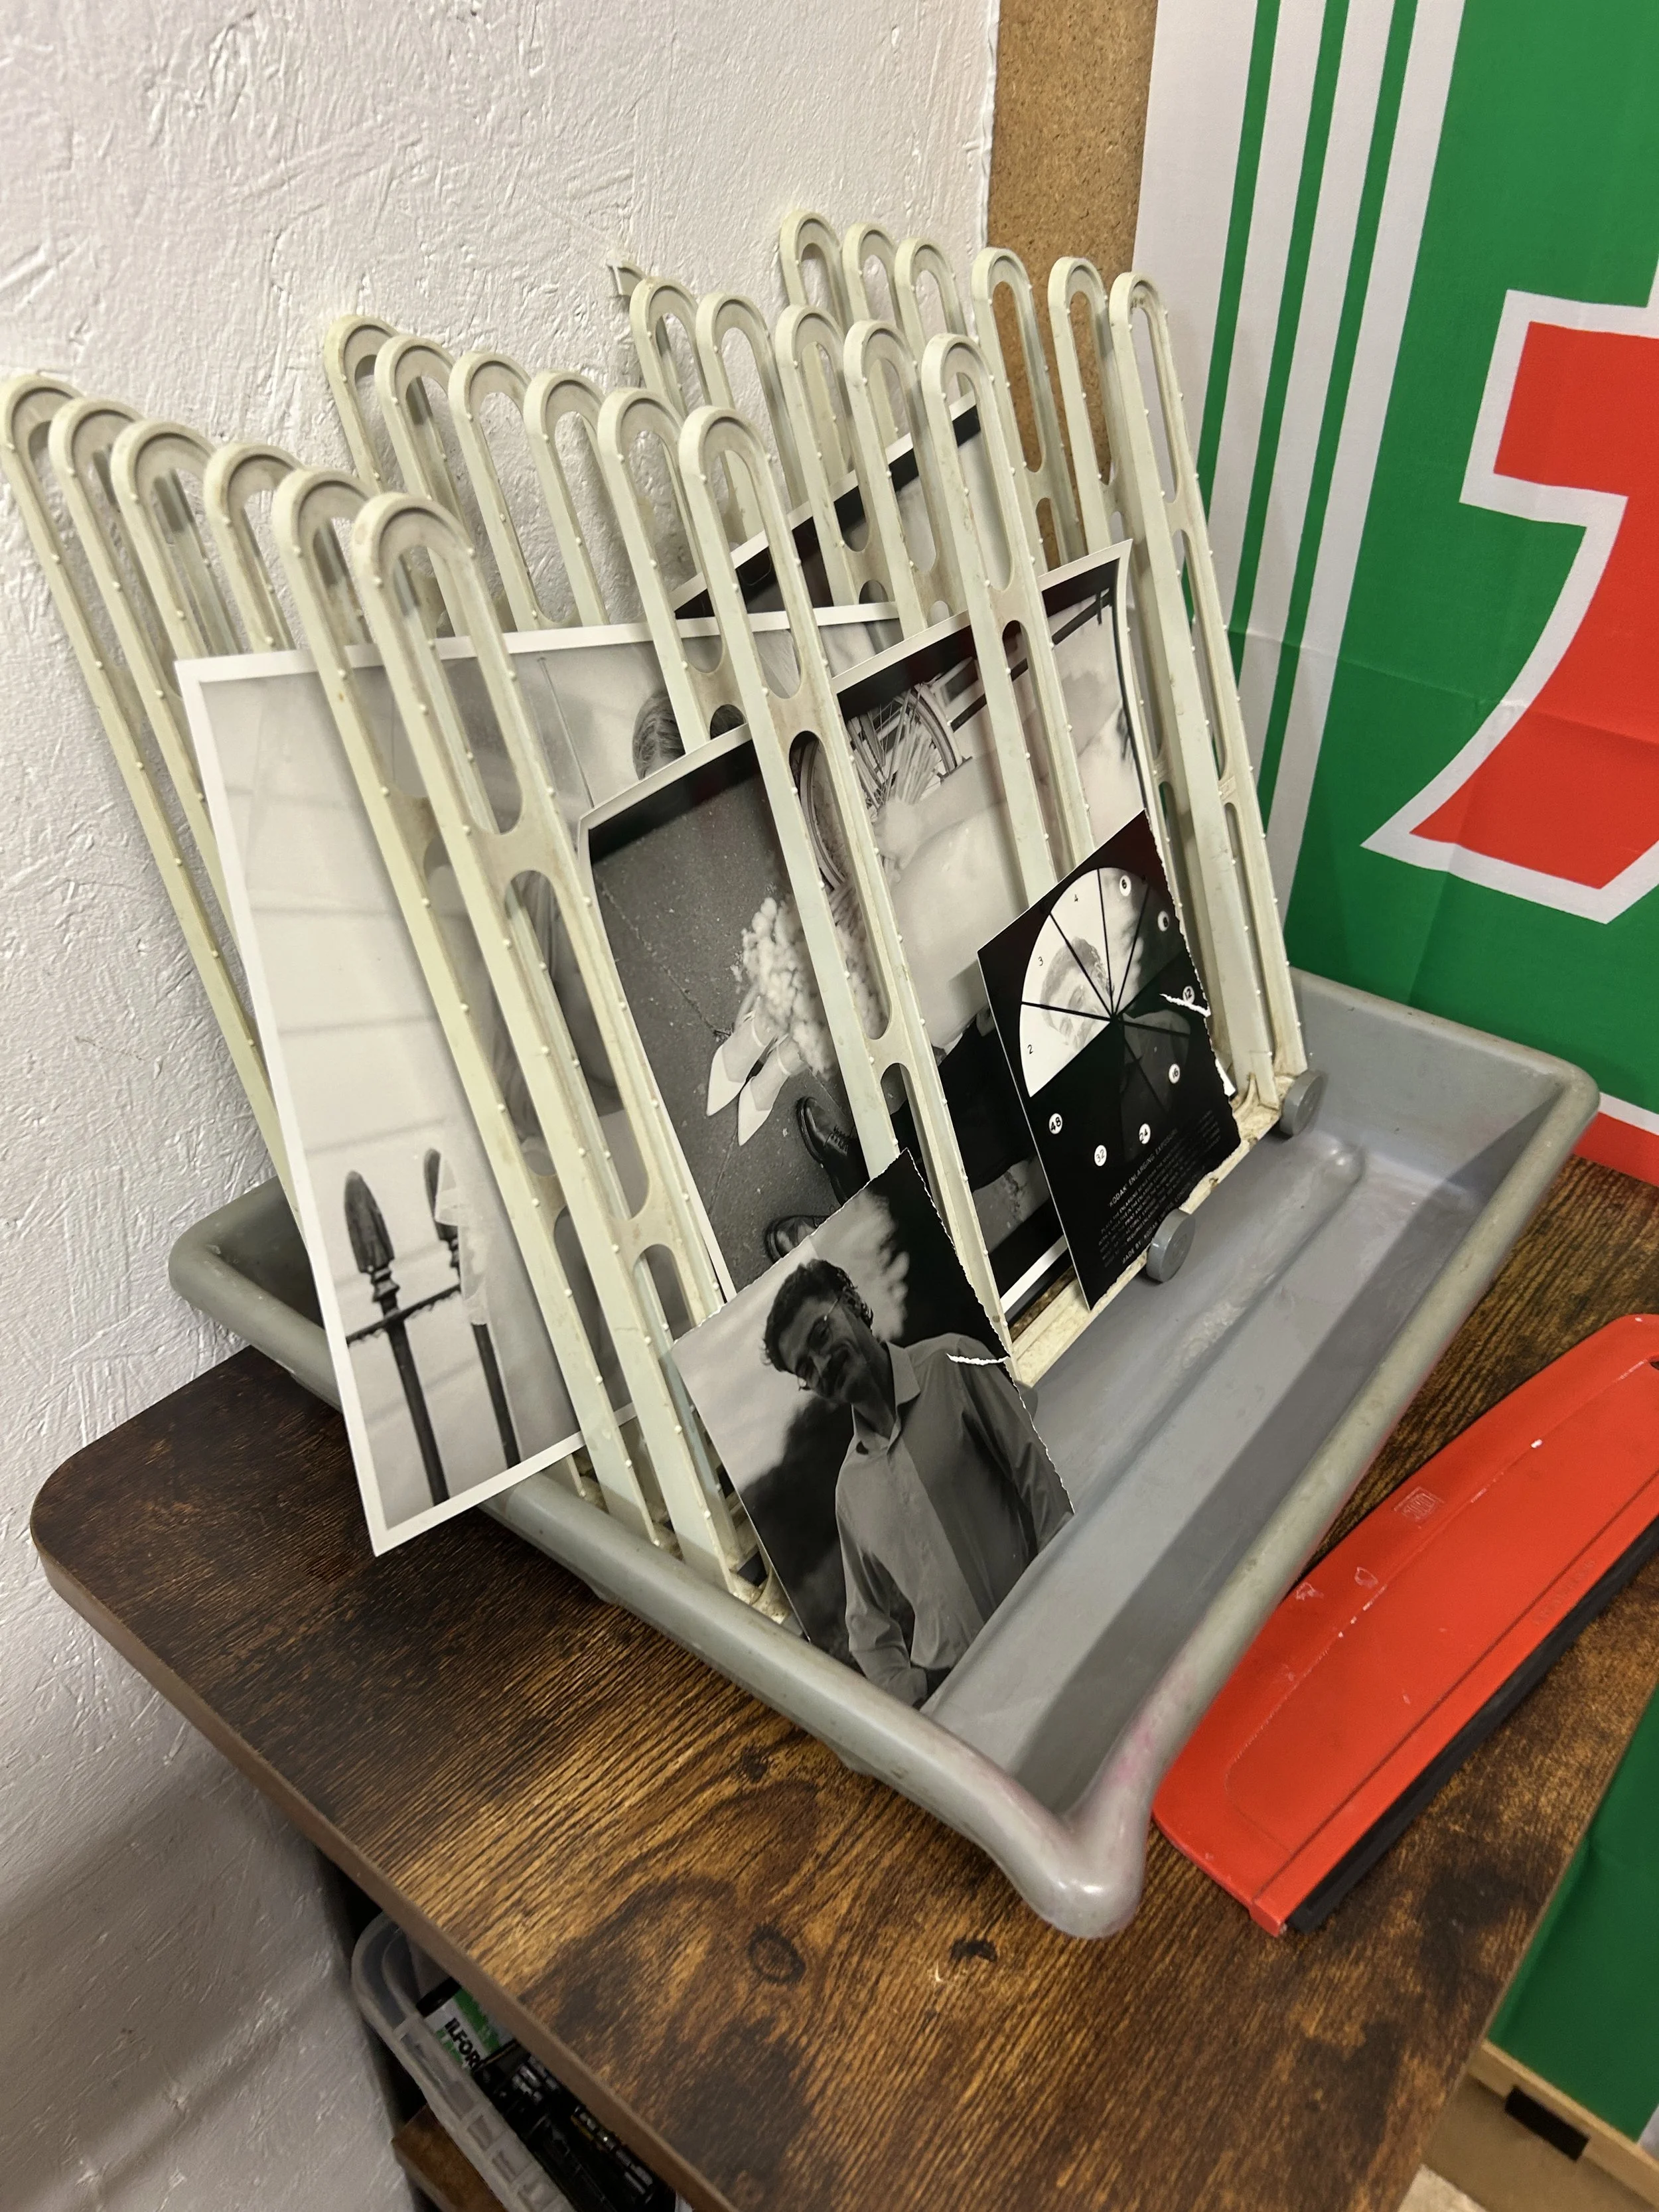
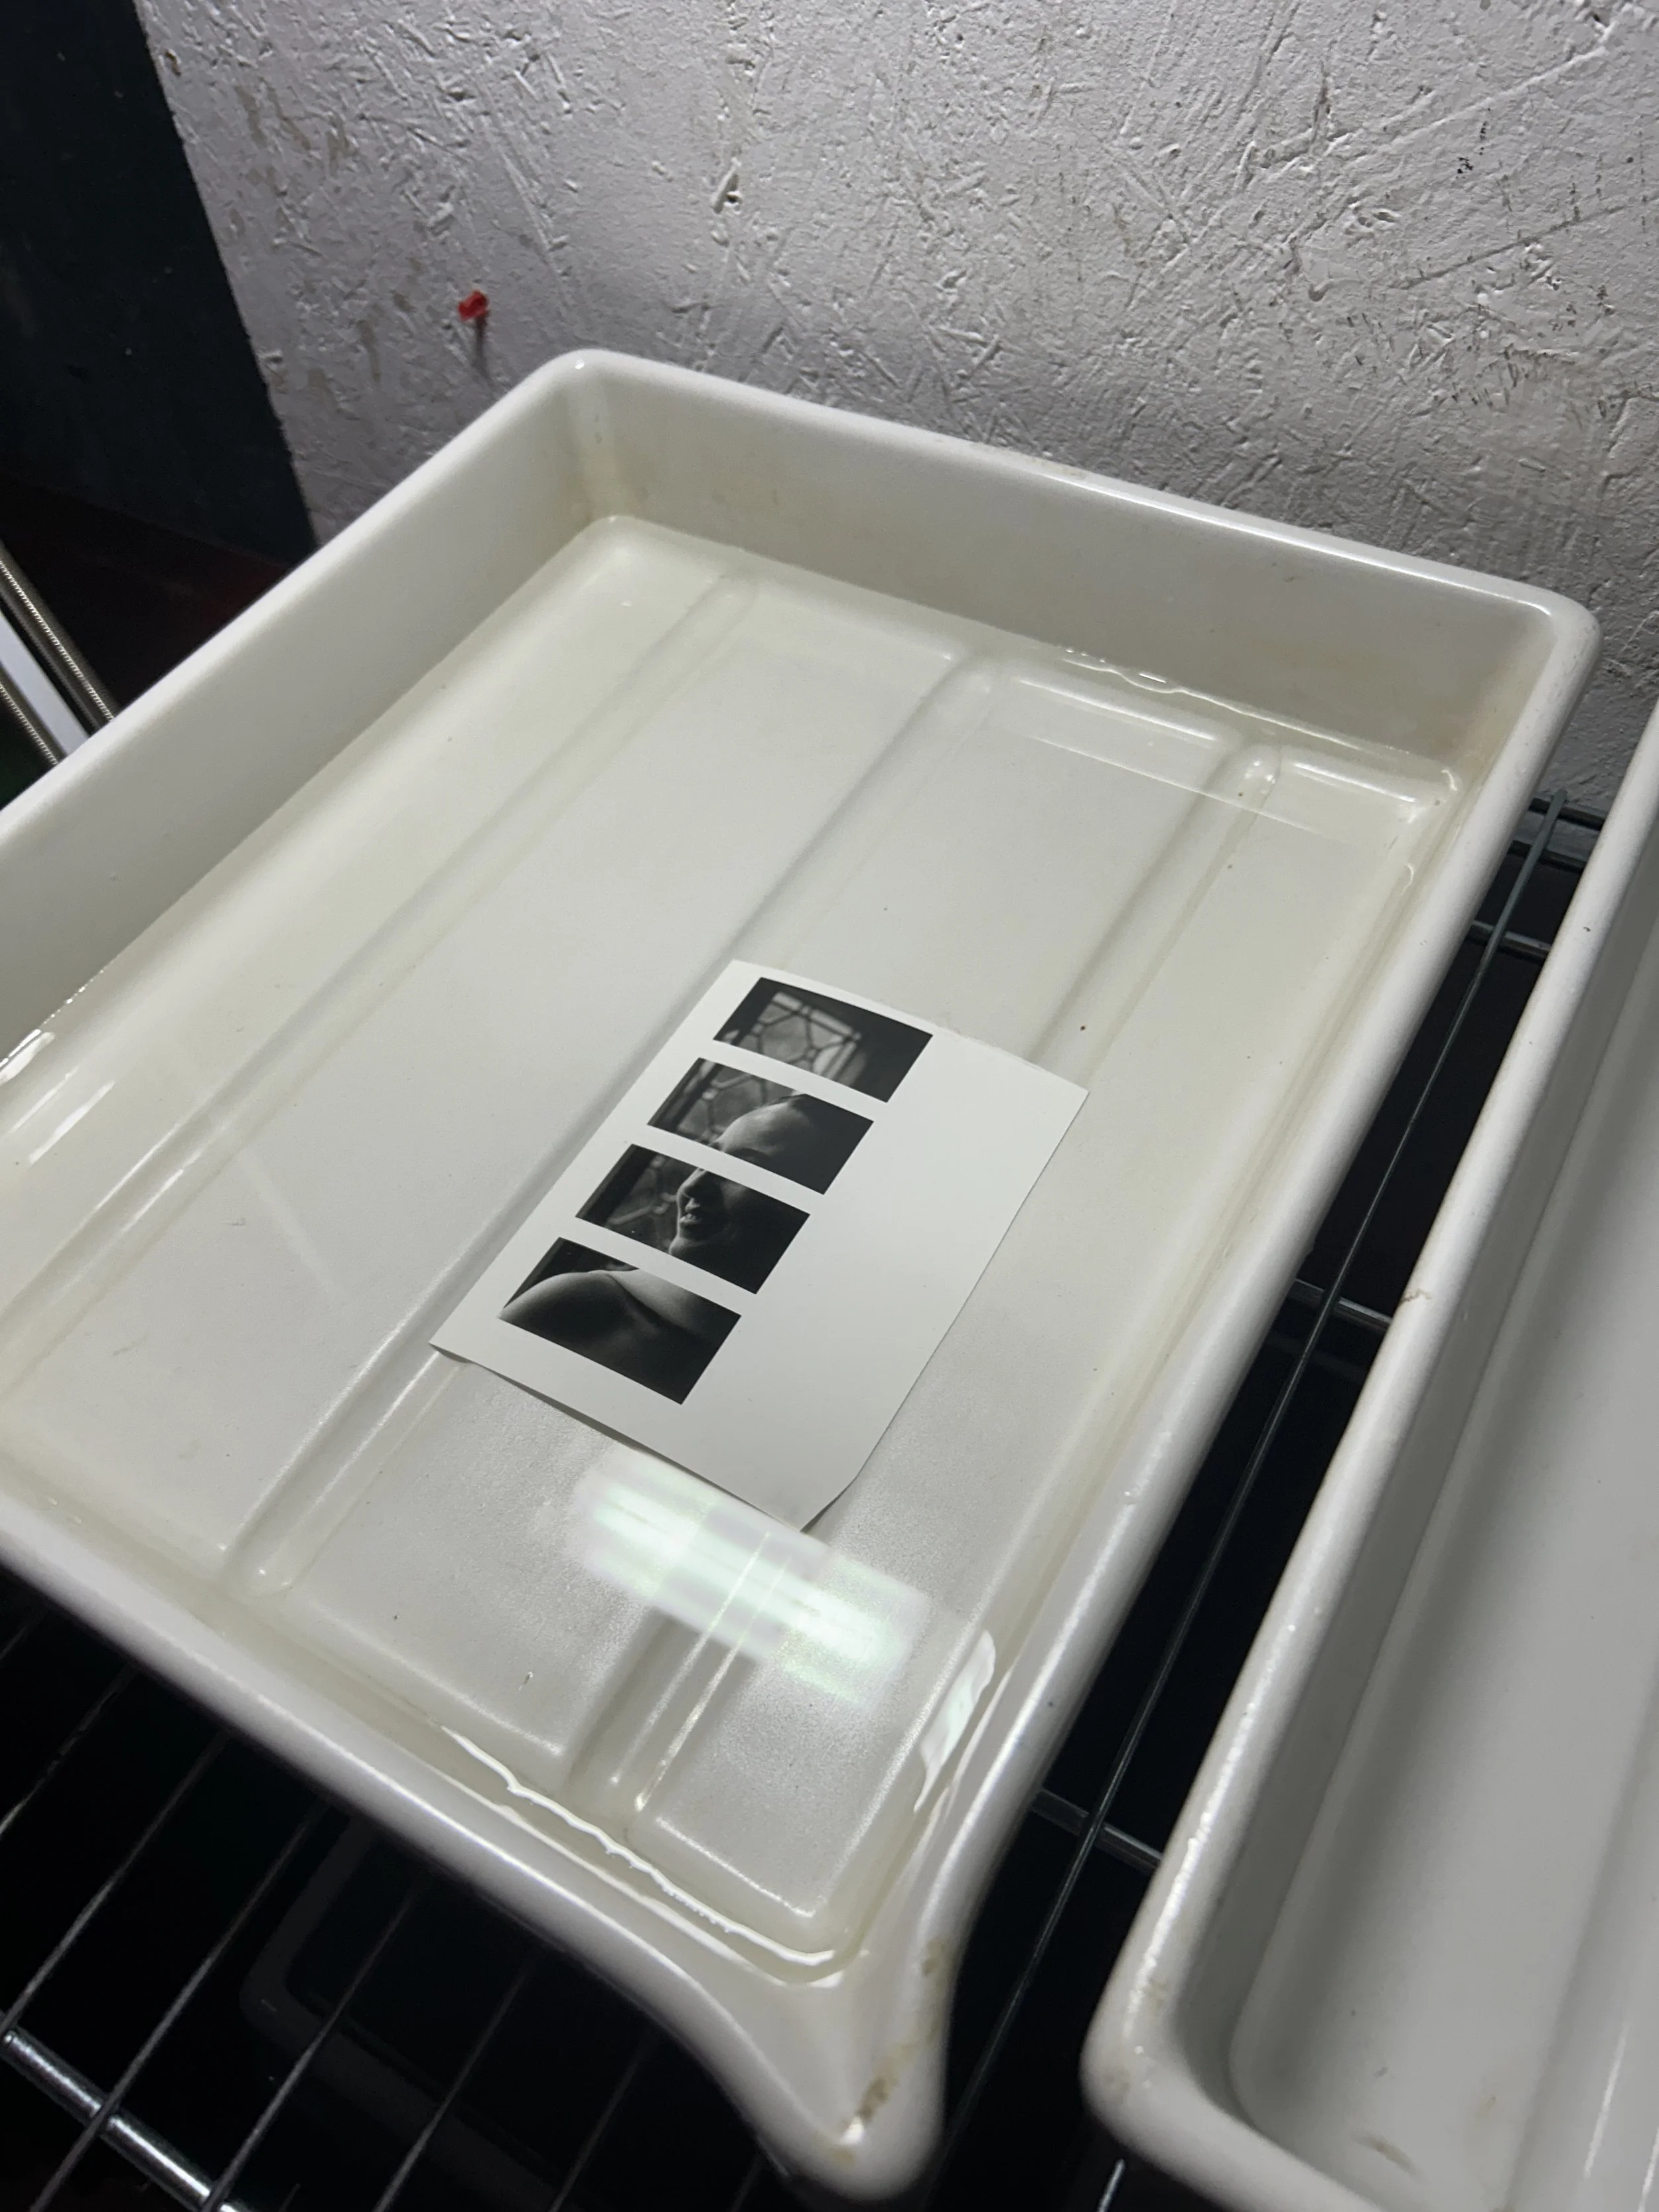
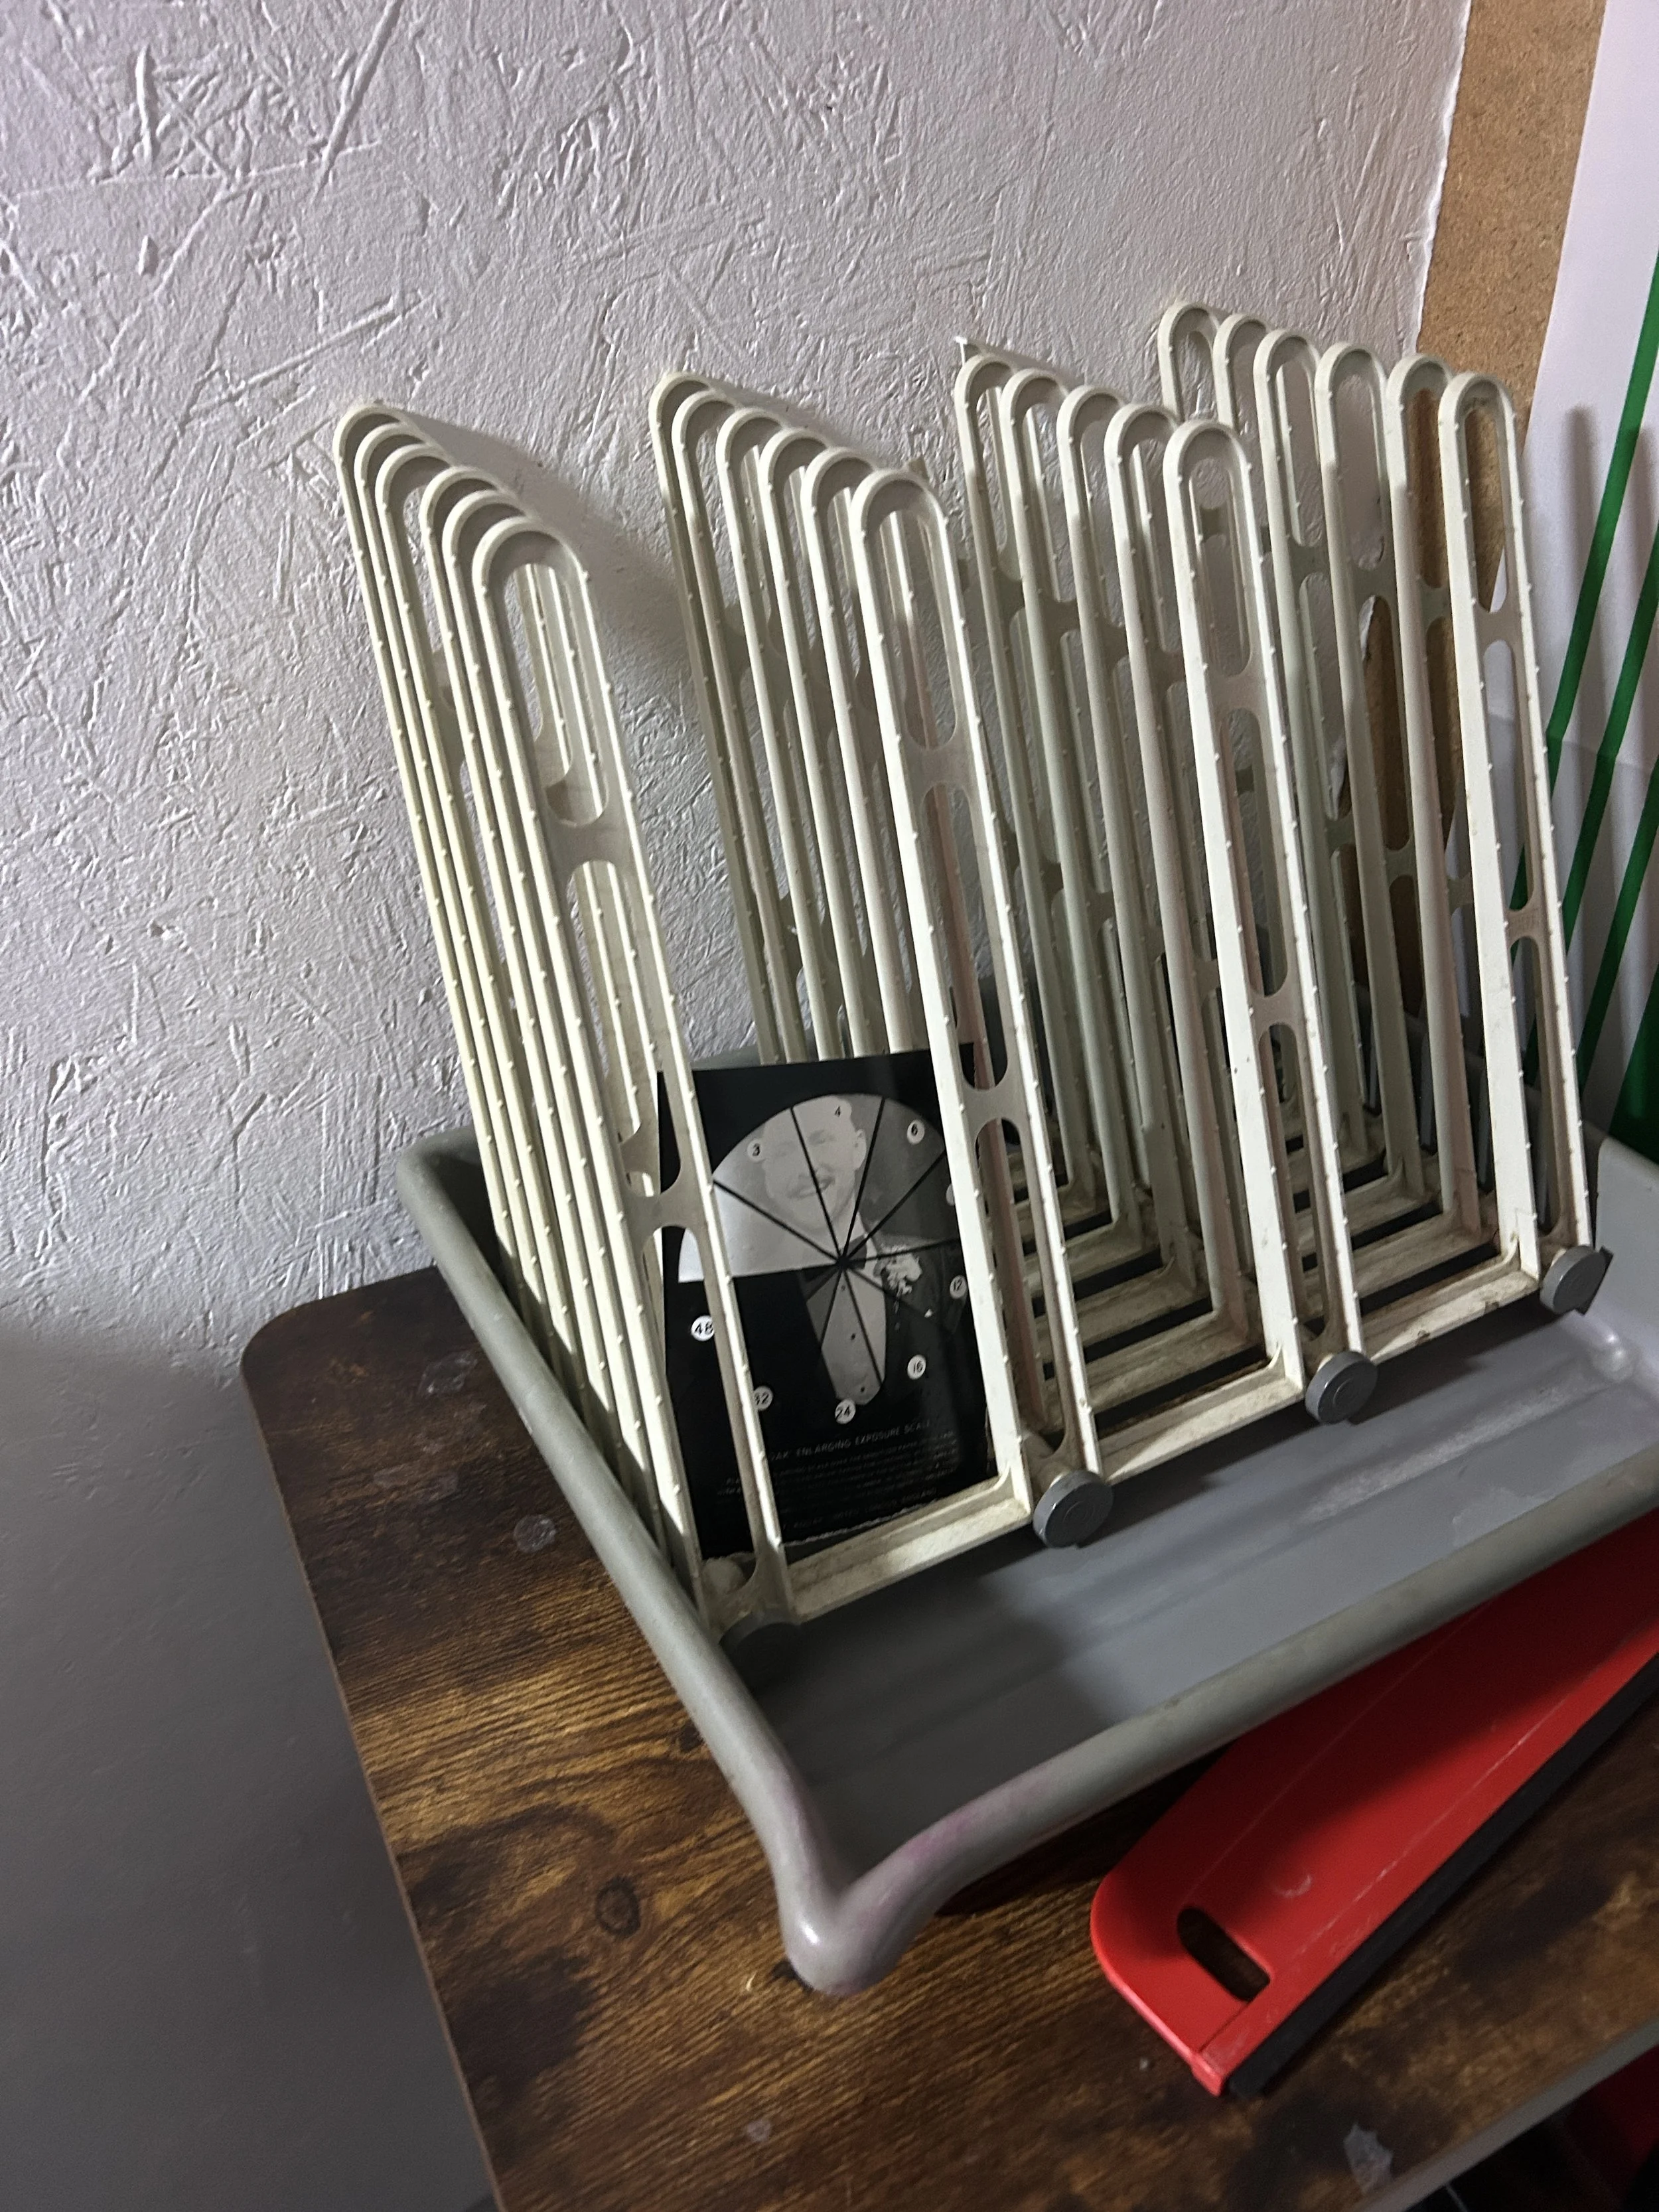
What are darkroom prints and how do they differ from standard prints?
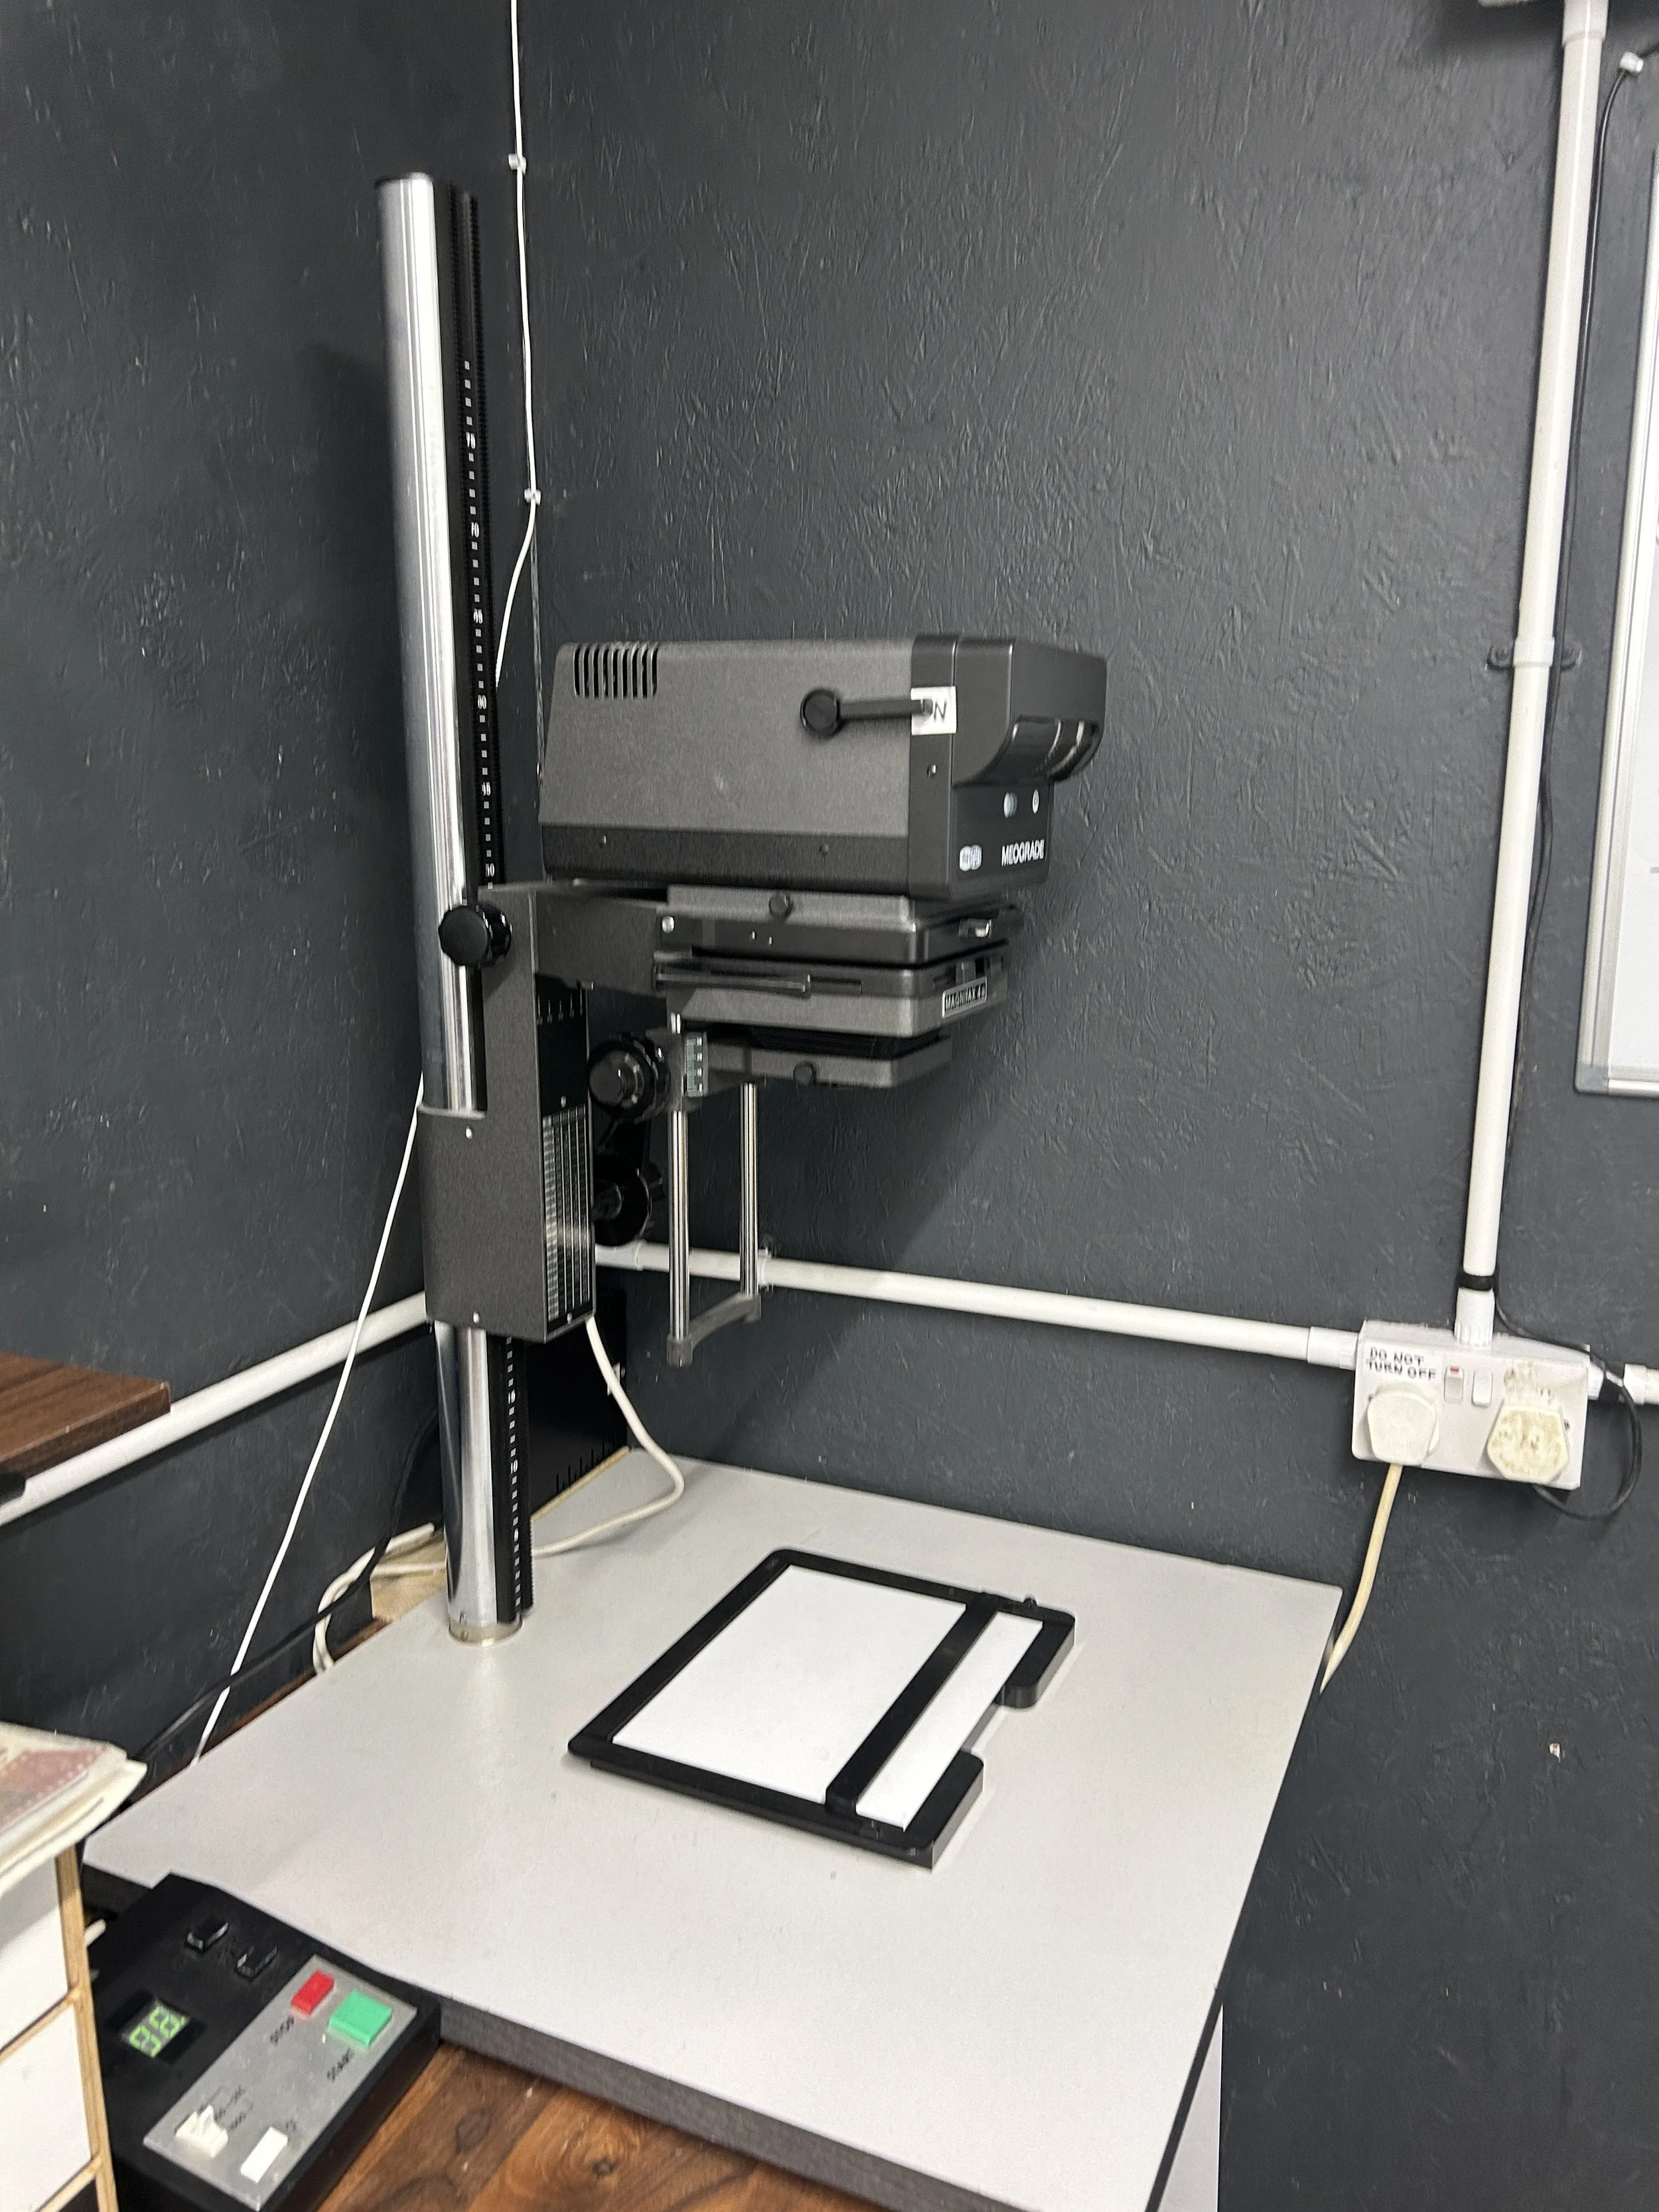
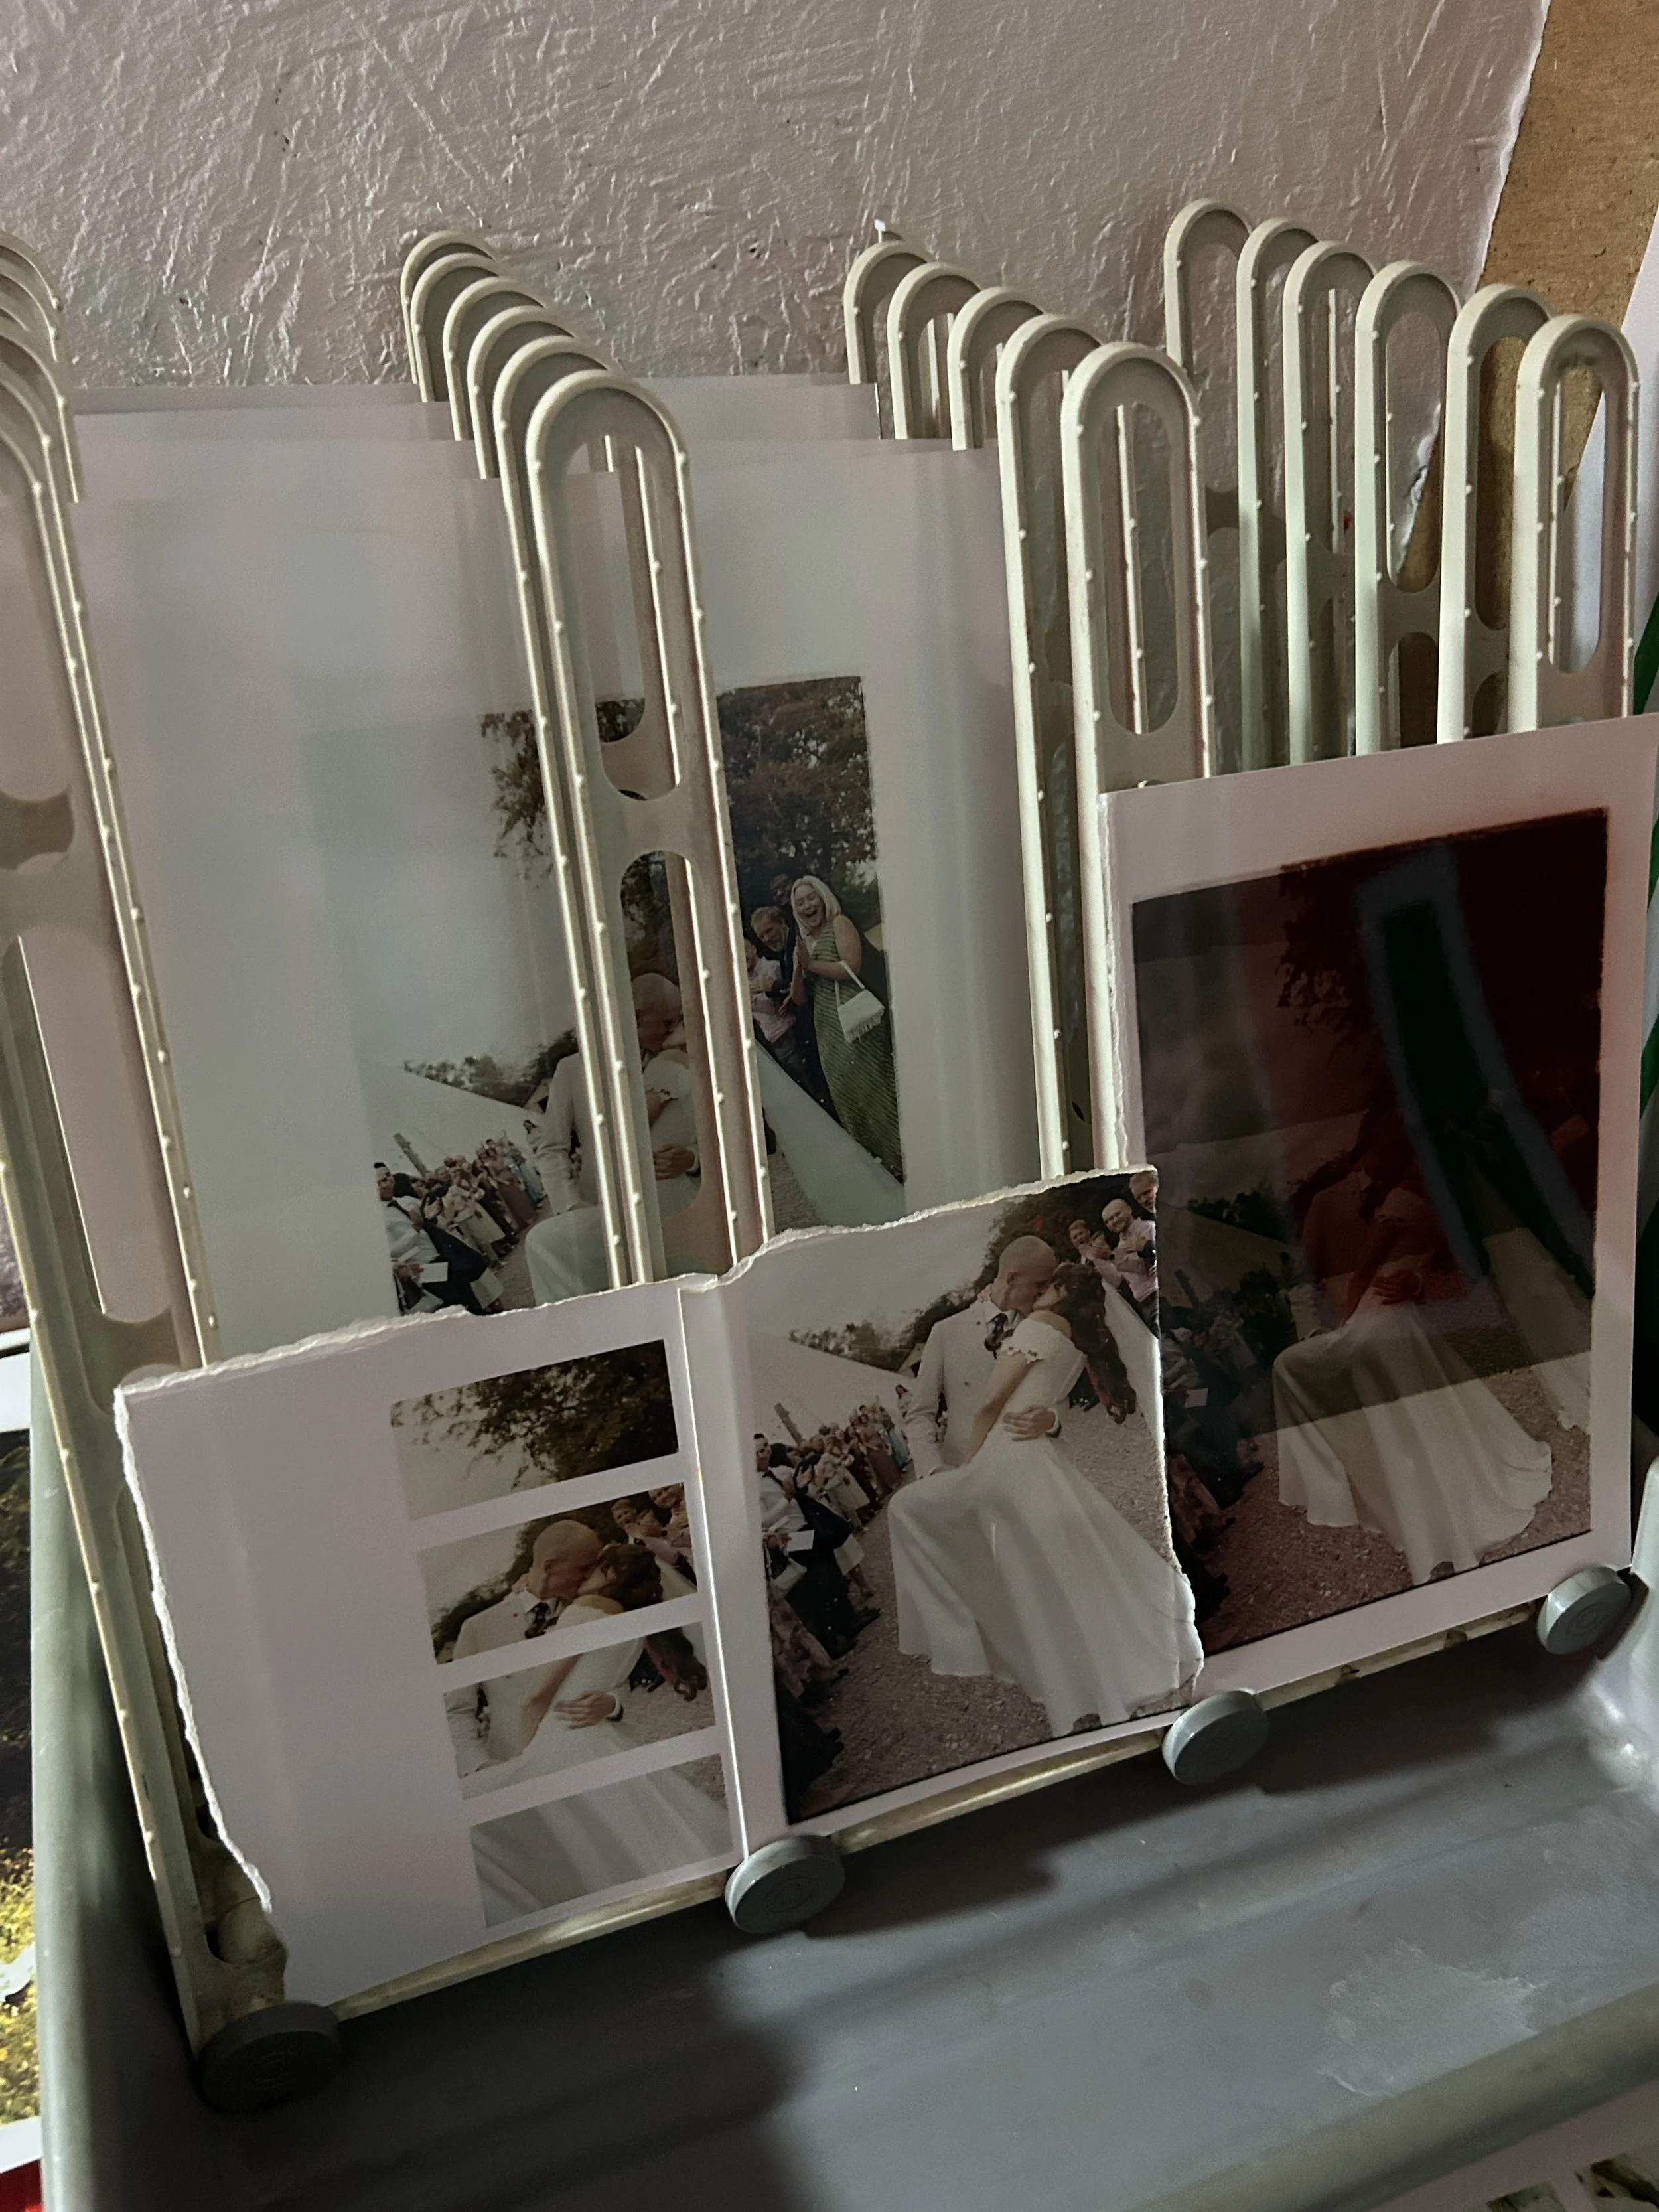
Darkroom prints are created from the negatives of film images. Instead of sending images off to a printer, a darkroom print is created using an enlarger (essentially a big light bulb), a negative, light sensitive paper and a couple of different chemical baths. The light from the enlarger (pictured at the side) hits light sensitive paper and this paper then put into a developer to make the image appear and a fixer (bleach as well for colour paper) to make sure the image doesn’t deteriorate over time it. It’s one of my favourite things to watch when an image appears.
Want to know more about it? I have a video below demonstrating printing a colour image.
A darkroom print feels, to me, like the end of the journey with film. It’s the true destination of choosing to use film, from choosing the film stock, developing it and then using it for its purpose, a gorgeous positive. A handmade, tangible image.
Paper size choices
Small Prints
These small prints are perfect for framing on walls and tables and for sending as gifts to friends and family.
-
£25 per individual print
Medium Size Prints
These medium size prints are perfect for framing on walls and tables, and for sending as gifts to friends and family.
-
£35 per individual print
Large Prints
Large prints are perfect for framing on walls. If you are looking for a larger print (16x20 inches) please let me know.
-
£50 per individual print
-
Know you only want small prints? Bulk buy 5×7 prints with a small discount.
£400 per 20 prints / £510 per 30 prints
-
Know you only want medium prints? Bulk buy 8×10 prints with a small discount.
£165 per 5 prints / £300 per 10 prints
-
Perfect for if you wish to have a variety of sizes to frame and keep on display around your home.
8 5×7 prints
4 8×10 prints
1 12×16 print
£340
-
Perfect for when you want to gift images to your friends and family.
Includes:
20 5×7 prints
10 8×10
£600
-
Perfect for when you want some personal prints as well as prints to share with friends and family. Small prints and 8×10s are ideal for sharing while the 12×16 and is ideal for framing for your own home.
Includes:
30 5×7 prints
10 8×10 prints
1 12×16 prints
£785
Bundles
-
Black and white: Glossy or matte
Colour paper only comes available as glossy
-
*black and white only
For most of the images in your galleries, I have cropped out the borders of the negatives. You can, however, choose to have those borders in your prints if you so wish. You can choose to have all four borders, or two borders (either the short or long edge, I recommend either the long edge or all the way round).
-
If you wish to have your prints with you before a certain date please let me know and I will do my best to accommodate.
£60
-
Want to experience making prints yourself by hand? Once you’ve put in your order for prints, let me know you’d like to join me and we can book in a date for you to help me create your prints.
If you’ve ordered lots of prints, it will likely take me a couple of sessions in the darkroom to create all of them so you’re welcome to join me for one or all of the sessions (although if you’d like a fast turnaround then I recommend one session only).
The darkroom I rent is in Manchester. It is currently based in Pollard Yard however will be moving to SeeSaw in the city. It will therefore be closing on the 15th December and reopening around the 15th January.
£200 per 4 hour session
-
A contact sheet is a print of multiple strips of negatives, typically with annotations about which negatives are to be chosen to scan or print. They can be a really fun addition to have on your walls. See below for an example of a contact sheet.
Printed on 8×10 paper.
Choose to have your contact sheet with or without my own annotations.
£35 per contact sheet.
Customisations & Add Ons
Learn more about the darkroom and the prints
colour print demo: Print a colour image with me
what is a contact sheet?
Explore the different print sizes and customisations
Black and white print demo coming soon
Q&A
-
They should be similar but likely won’t be exactly the same, especially for colour prints.
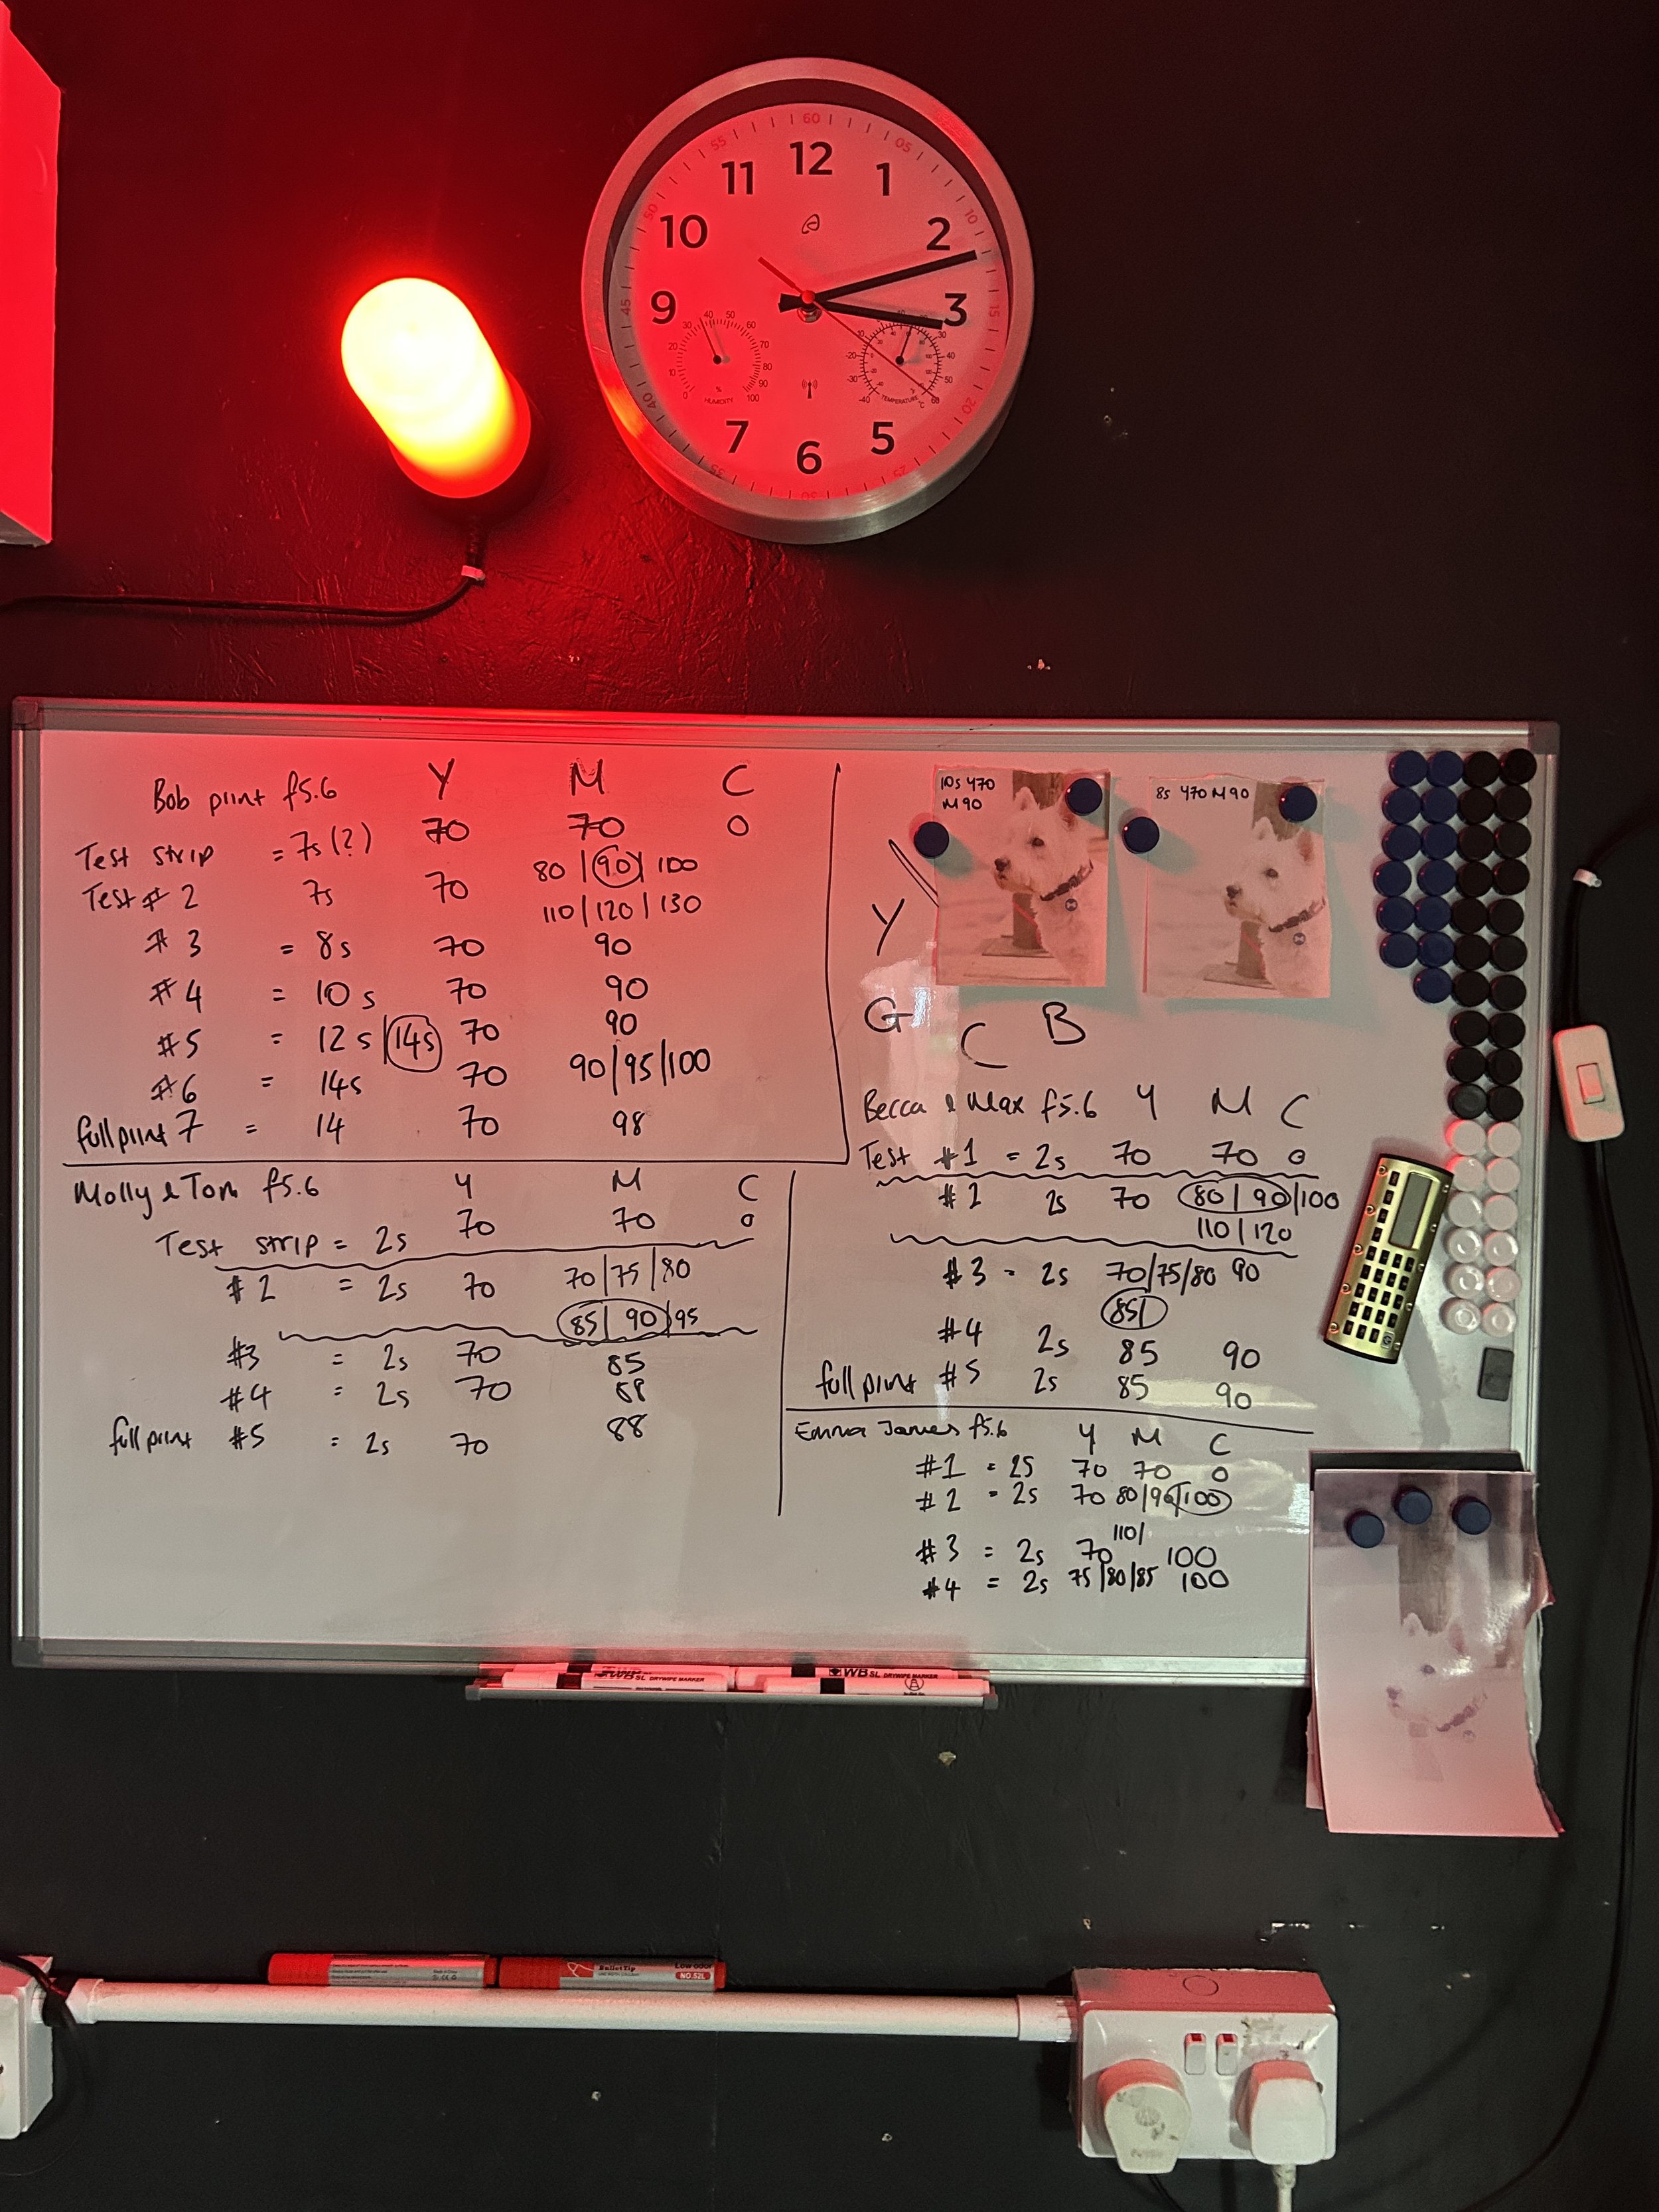
When I scan in my images as digital files, I make tweaks and adjustments to the colour. For example I usually like a slight undertone of green in the shadows so I pull this colour through in the edit or I reduce the contrast a tiny bit. When printing through an enlarger, there are limits to the adjustments that can be made. You can only adjust the magenta (and therefore green) and yellow (and therefore blue) of the entire image.
However on the whole, I’ve found my colour prints to be not too dissimilar to the digital versions.
-
When testing a new negative, it takes approximately an hour to reach the point where I’m happy to make a full print. Once I’m happy with the way the print looks, the great thing is I can make reprints with no need for more test prints so reprints can be very quick.
-
Depending on the availability of the darkroom, you can join me for up to 4/5 hours for a session there. The darkroom is open on weekends and weekday evenings currently.
-
Yes! For black and white printing you’re able to keep a red light on while you work. This means you can print with open chemical trays so you can see your image appear as you transfer it across from one tray to the other. For colour printing it needs to be total darkness (it makes things a tiny bit more tricky). Once the paper has been under the enlarger it is put into a little machine that is sealed from light and runs the paper through the chemicals by itself.
Next Steps
In the email I sent to you with the link to my prints and album store, there will also have been a link to a Favourite album in your gallery. This section is filled with the images that are able to be printed in the darkroom. While this is not all of the film images in your galleries, it is the selection that I believe will work best for darkroom printing.
Once you’ve decided which images you’d like printed you can let me know in one of two ways.
Create a favourites album of your own in your gallery and send this across to me detailing any customisations and if you want any of the images made into multiple prints. If doing this option please split the galleries according to print sizes, so for example you’d send across one Favourite album for your 5x7 prints and one Favourite album for your 8x10 prints.
Write everything down in an email: what you’d like to choose, which images you’d like printed according to their file name, the quantity and the sizes along with any customisations. For example:
“I’d like:
3 5x7 images:
1 x Charlotte Dormoy 1
2x Charlotte Dormoy 2
2 8x10 images:
2x Charlotte Dormoy 1
I’d like the black and whites in a glossy finish. I’d like a bit of film border on the long edge of the black and white 5x7s but no film border on the black and white 8x10s.”
Once you’ve let me know what you’d like I will send you over an invoice and get started with them right away. I’ll keep you updated with the progress of print creation. If you’ve ordered multiple prints it may be that it takes a handful of sessions in the darkroom to create these.
I’m so excited to turn the negatives we took on your day into darkroom prints!